Why We Use Kerkythea to Apply Lighting and Create Rendered Images
In order to validate lighting effects to meet our project’s aims, we attempt to create some rendered images of Craig’s scenic designs for The Hour-Glass (Yeats), with applied lighting settings, to visualise how the screens may have appeared when they were in use at the Abbey theatre.
My role in the project is to do technical research on software for lighting and rendering purposes. Following the software suggestions and recommendations of my classmate Freya, I spent the first week in our project schedule on this research and tested a list of potential software with lighting and rendering function (please click here to read more).
In acknowledgement of the Sustainability principle and Access principle in the London Charter (Denard), the project aims to make our research and models publicly available long term. In-keeping with this project aim, we decided to utilize free software for lighting and rendering purposes – to ensure the long-term sustainability of the project outcomes and for future access, development, and reference. Consequently, Kerkythea became our best option, balancing the cost and learning curve. For a more detailed discussion of how the London Charter applies to our visualisation project, please see For a more detailed discussion of how the London Charter applies to our visualisation project, please see Gráinne’s blog post. All of the images included below are hyper-linked, please click on any image to open an enlarged version.
Learning to Use Kerkythea
After we decided to use Kerkythea for lighting and rendering purposes in our project, I continuously took the responsibility to learn the software and create rendered images with lighting effect applied.
To be honest, the first time I looked at the Kerkythea interface I was really confused, as it is quite professionally theory-based and I’m not a technical master. To achieve the task, I spent 4 weeks (10 hours per week) to learn the software and particularly experiment with lighting effects.
Kerkythea is a software-based rendering engine, and it provides a Sketchup plug-in for exporting the Sketchup model to be rendered in the Kerkythea software. Below are the basic steps that I used to apply lighting effects and correspondingly create rendered images with Kerkythea.
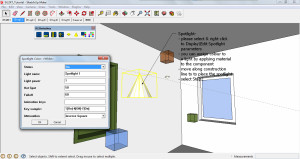
1. By using the Sketchup plug-in, users can apply spotlights and point lights to the Sketchup models and adjust position, direction and light power. Then export the Sketchup models as XML files to be rendered in Kertythea.
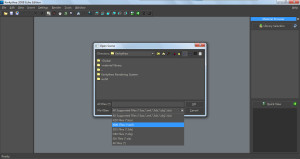
2. Open the XML file of the Sketchup model by clicking “File > Open” or press “Ctrl + O” on your keyboard.
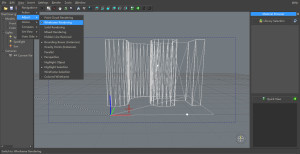
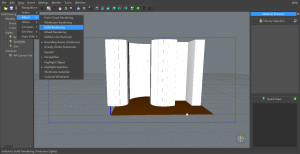
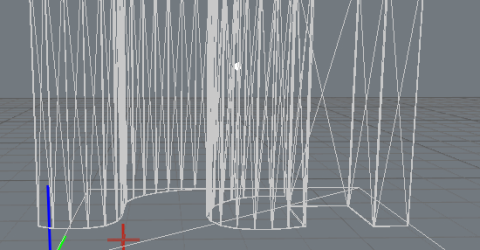
3. Adjust the view settings. In this project, I find it more straightforward to use the “Solid Rendering setting”. To set this, users can switch between “wire frame” or “Solid” view, by hitting the “V” on your keyboard or by selecting “View > Adjust > “Wireframe Rendering” “Solid Rendering” or “colored wire-frame”, etc.
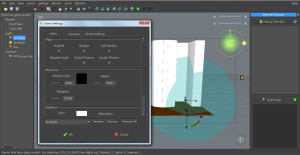
4. Edit the light settings by right clicking on the light you want to edit to adjust the light color, radius, and etc. (If you adjust the view to be looking exactly where you want a light to be, you can place a light inside of KT using Insert > Spotlight. It will be placed at the current point of view. In the Scene Tree view you right-click your light and select Disable in the sub-menu to turn the selected light off or Enable to turn it on.)
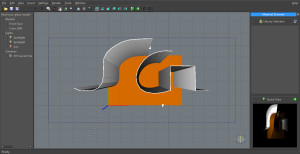
5. Adjust the angle of the model at which you want to create rendered images within the blue frame in the centre window, by using the menu-bar.
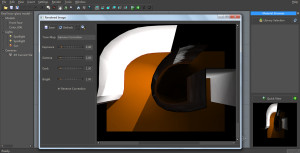
6. Start to render the image and adjust the effects of the image including exposure, bright, and etc.
This is the process we apply lighting and create rendered images in this project. It might not be the most effective way to implement the possibilities of Kerkythea due to my technical understanding and time limited. But I’m hoping this documentation would be useful for future development and reference.
Reference:
Kerkythea Documentation Tutorials: http://www.kerkythea.net/cms/index.php/downloads/documentation

